Installation
Clone the repository
Clone the Elements repository from the following link:
Visual studio code preparation
Download the python extension in your visual studio code

Open the Elements folder with the visual studio code
Creating a Conda Environment
We suggest to download the Anaconda package management system to keep your system clean (optional step)
Download the proper Anaconda python distribution based on your system.
Installation
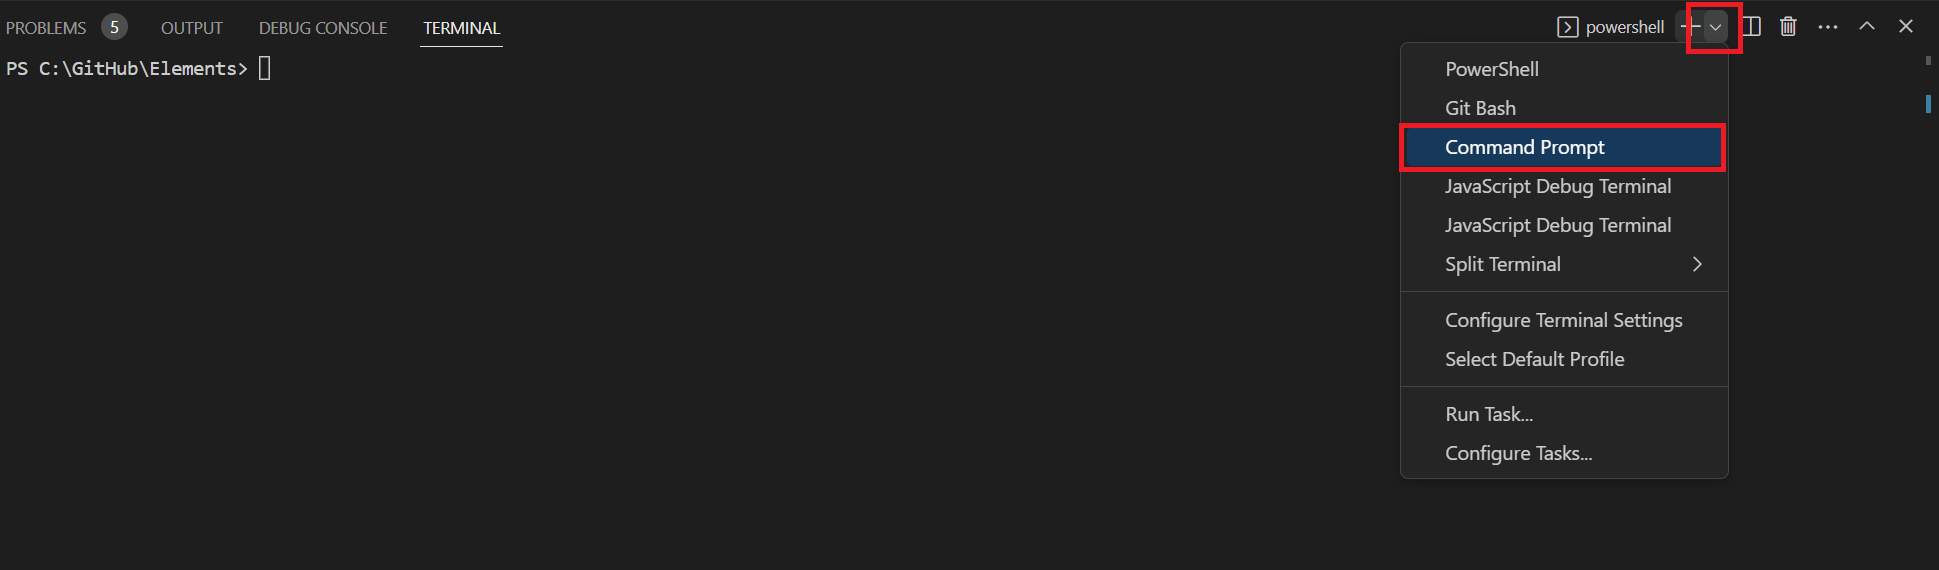
Open a new command prompt in visual studio code
Create a new elements conda environment with the command:
conda create -n elements python=3.8
This creates a new environment, named elements, with a python version 3.8, which is the proper version to run Elements.
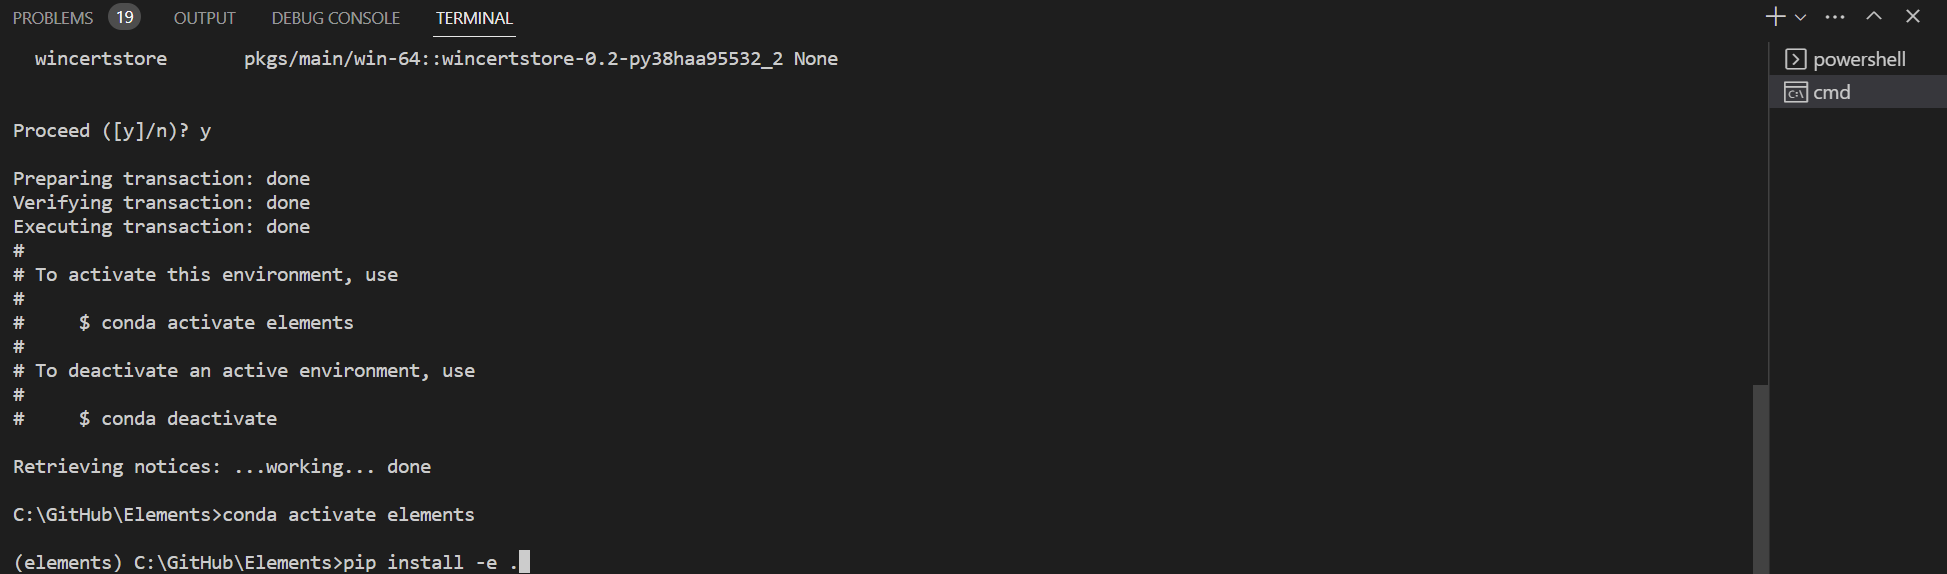
You may now activate the environment by running:
conda activate elements
Install the needed packages to your elements environment with the following command:
pip install -e .
Your elements project is now ready!
Run the unit Tests
To run the unit tests
Click the unit test icon on the left side panel. Then to run the test click the run test button.

Make sure that all the tests run properly.
Run the examples
Now let’s run some Elements examples
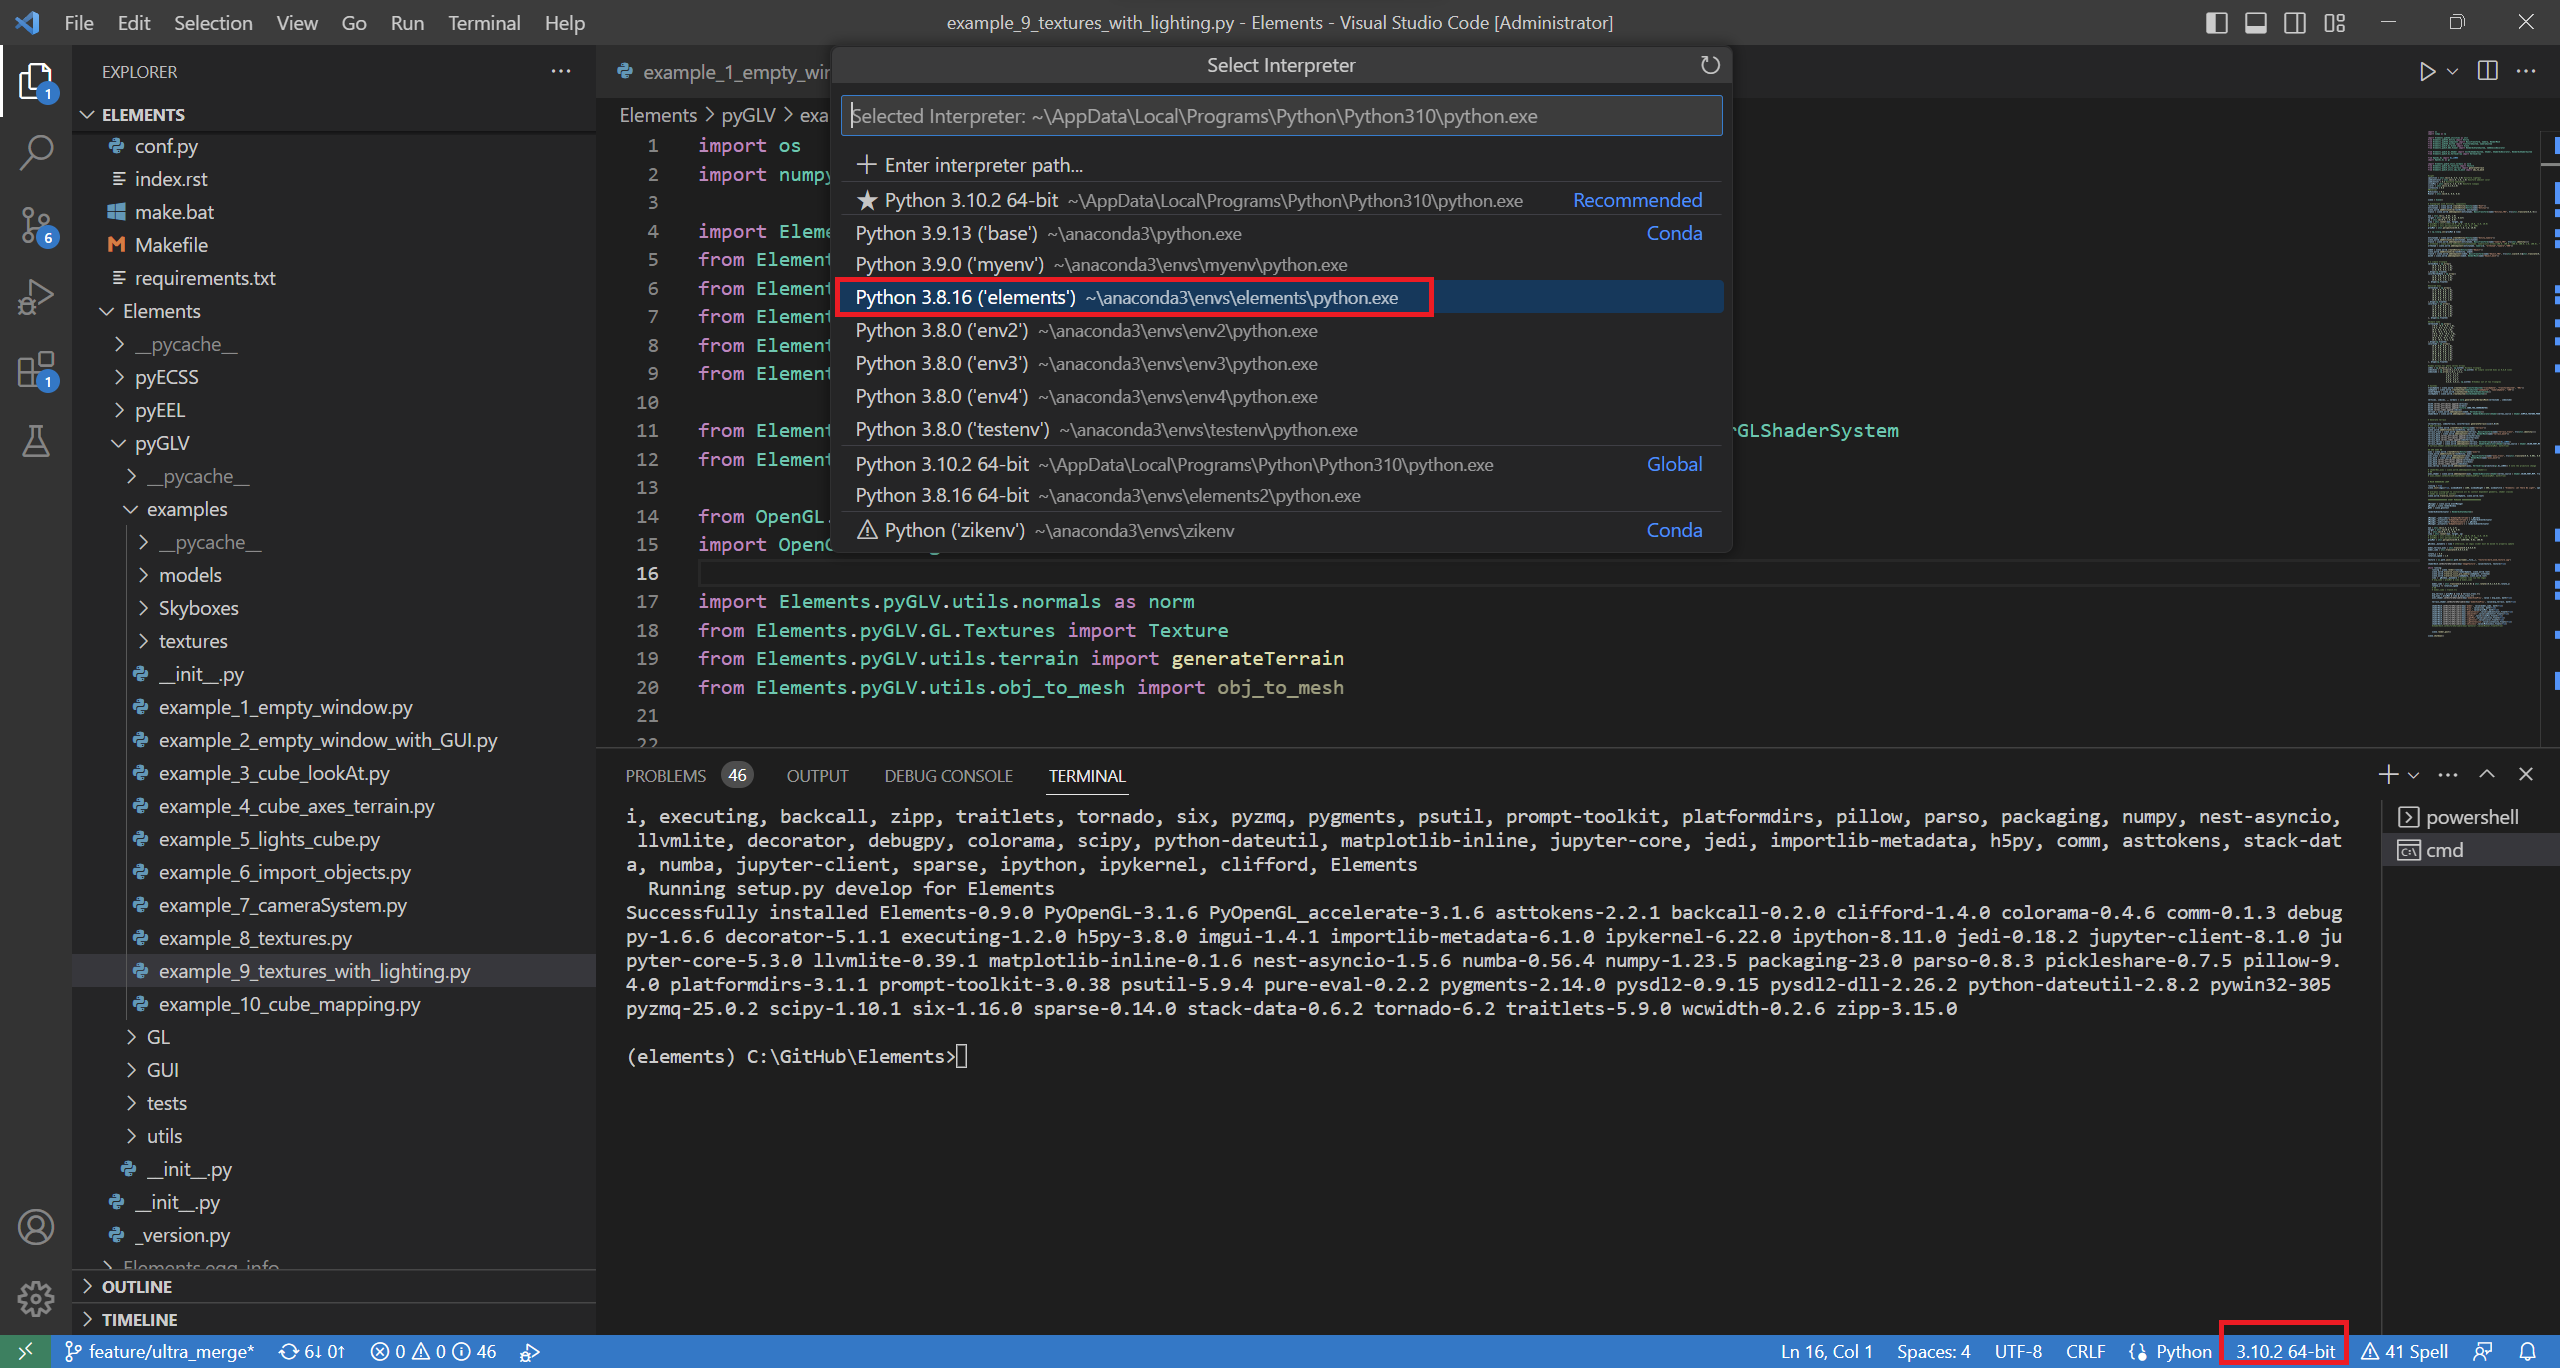
Navigate to the pyGLV/examples folder and click the example_9_textures_with_lighting.py example.
Click the python version button on the bottom right and select the elements environment we created.
Then press the F5 button to run the example

The rotating cube should appear!
Contributing to the Elements project
In order to contribute to contribute to the Elements package:
Fork the develop branch.
Clone your forked repo to your computer.
Install it in editable mode by running:
pip3 install -e .
at the directory where the setup.py file is located.
Create a feature branch from the develop branch, and work on it.
Push your feature branch to your github repo.
Open a Pull Request to the original develop branch.